This post has been long overdue and is in no small part due to my recovering broken foot. To be precise, I managed to break one half of the lisfranc joint on my left big toe while chilling at the foot of Thornton’s Peak on a friend’s property. Drosera prolifera is endemic to Thornton’s Peak, so maybe one day I’ll get myself up there to see them. But this post is about the new Sarracenia gardens (I think “bog garden” sounds a bit crass personally). Last time I blogged, they were in the process of being planted. What happened since?
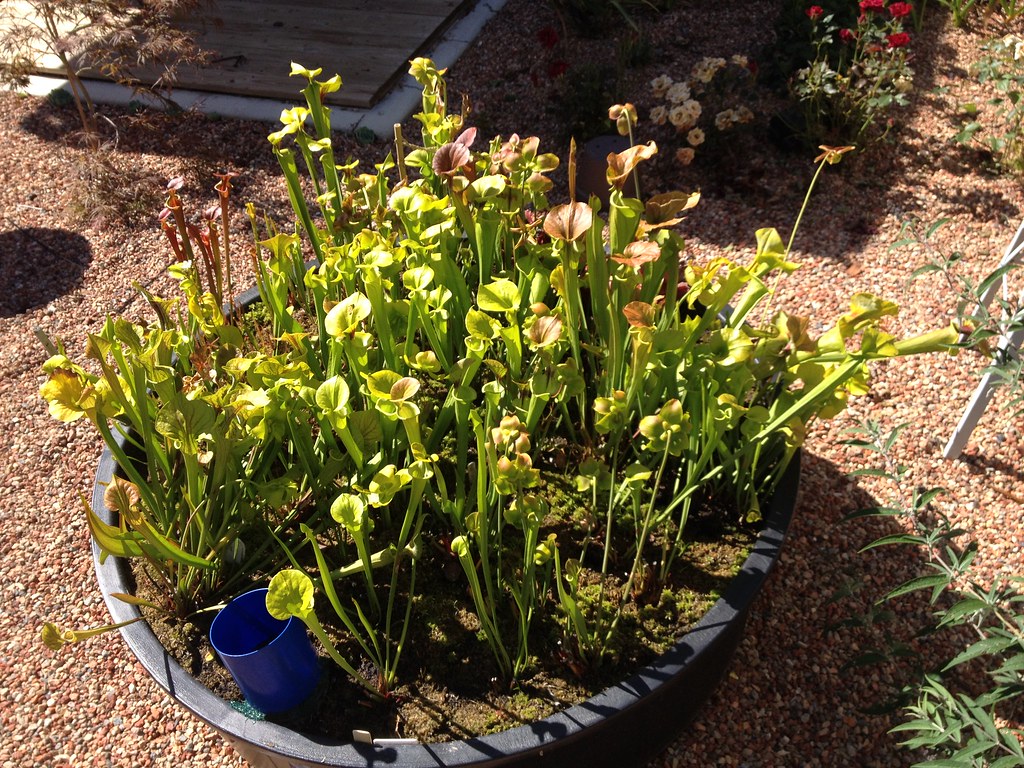
Pond # 1 is the flava var. atropurpurea / rubricorpora and non-veined flava var. cuprea garden. It also has red VFTs (plus the giant clone, B-52).
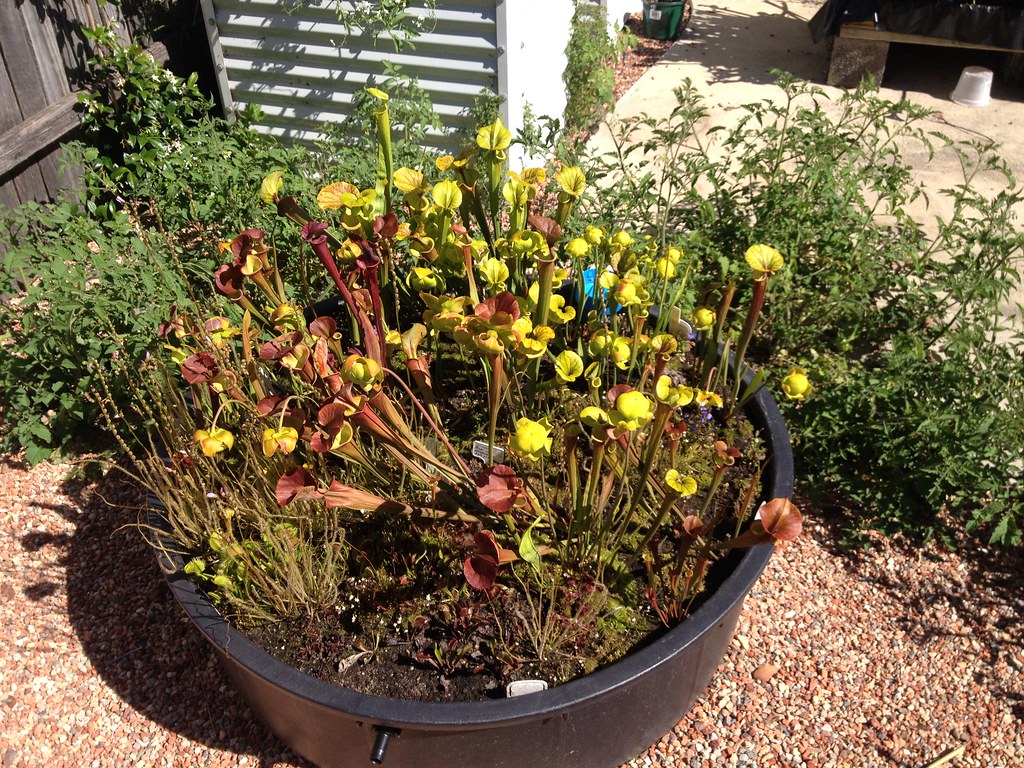
Pond # 2 is the flava (excl. atropurpurea & rubricorpora) garden. But a flava var. atropurpurea clone made it in by mistake; I thought I had put it in the appropriate garden and wedged it in here when I found it just as I was finishing up.
Pond # 3 is the hybrid / purpurea / leucophylla and general VFT garden.
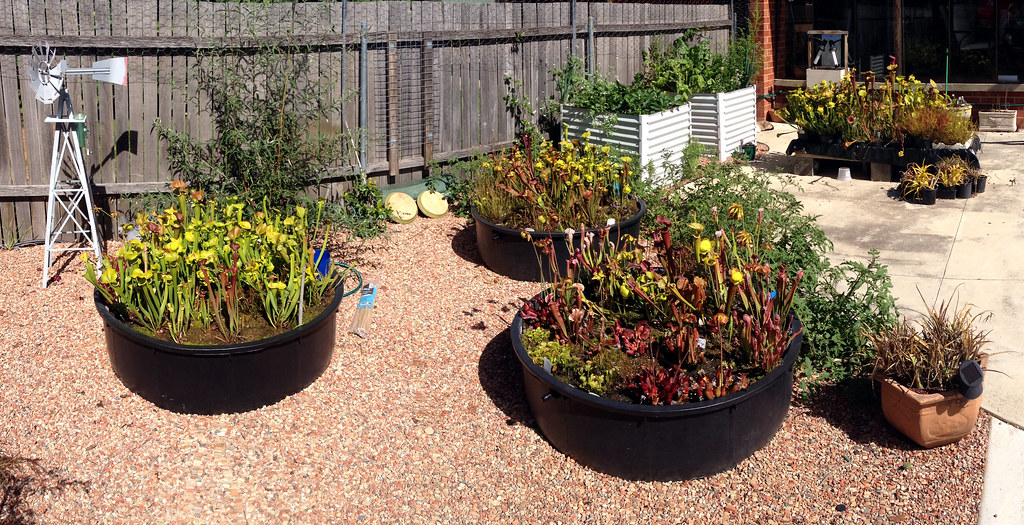
As you can see, the gardens have matured, but it has been a frustrating season so far (another reason for the lack of posts). The plants have done well, but for a while I was beginning to think I had made a mistake because it took them a long time to settle in. A few things contributed to this, some natural and some due to design flaws with the gardens themselves. For one, Sarracenia never look good after being repotted. They always take a season to get over it and settle in. Then there was our windy spring, which resulted in a lot of pitchers being deformed. And then there were design flaws.
The major design flaw was not providing an overflow and a drain. It may seem counterintuitive to have a drain in a bog garden, but I learned the hard way. The pond at far left in the above pictures got in a lot of trouble because, during a hot and windy day, I filled it to overflowing to make sure they plants had enough water. This promptly turned the Sphagnum into soup, and allowed many plants to be uprooted in the wind. In the other ponds, even a day of water sitting on the surface saw a lot of live Sphagnum (which were planted in clumps) grow loads of algae.

Here is the bulkhead I used to provide an overflow. It creates a seal with two rubber gaskets. I decided to install them about 2 cm below the surface of the garden; this way there is still a high water table without water pooling on the surface.

Installing bulkheads onto the gardens is easy. You need a circular, hole-cutting bit (different to a drill bit) and a high-speed drill. Use gentle but firm pressure to ensure a clean cut and remove any burring with a craft knife. Then fit the inner seal onto the bulkhead, insert the threaded end through the hold from the inside to outside, attach the outer gasket, and tighten the holding nut to finger tight only.
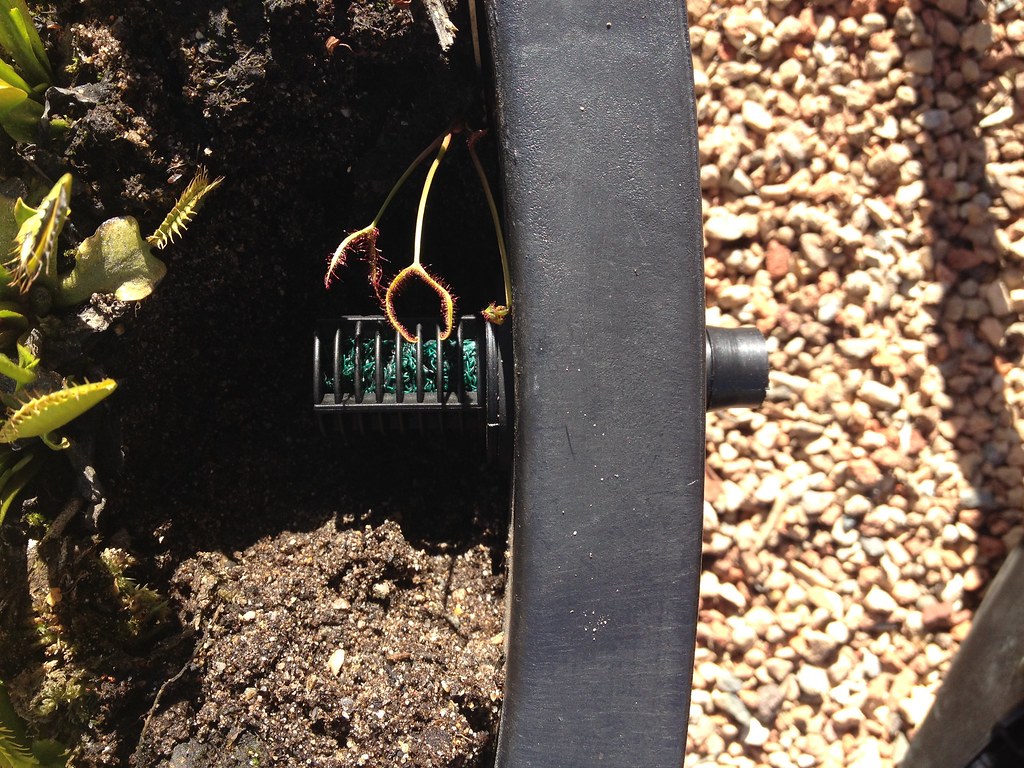
Here is what the bulkhead looks like installed. Sure, you could just drill a hole, but if you ever wanted to use the pond to brim full, a bulkhead provides you with the flexibility to do so. Since they have been installed, I merely fill the garden until water starts to come out the overflow. I am very sure I am using a lot less water than I was using the tray method.
There is a lot more to tell about these gardens, but writing about them will have to wait for another night. The plan is to get out and take a stack of macro photos, upload them to Flickr, and then upload them here and write about it. That will take a few days to organise, so bear with me. Until then, good growing.